Chicken and Broccoli Casserole

I did not have an official challenge tonight. But, as the end of the week nears, I usually have a few things in my refrigerator that I need to finish. This week, I took some of those leftover items and turned it into a simple, low carb, and relatively healthy casserole.

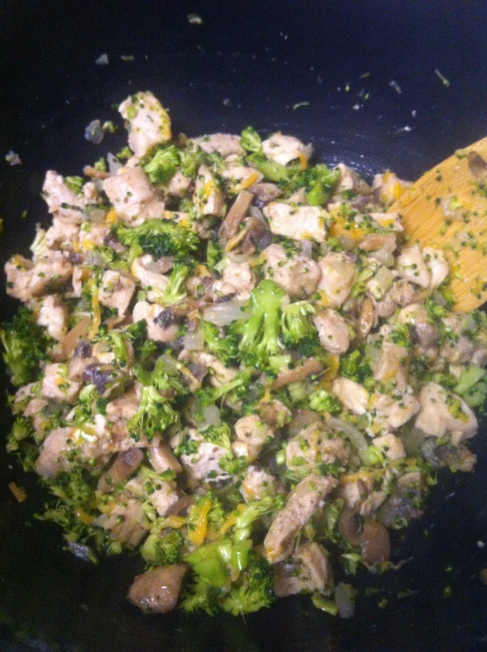
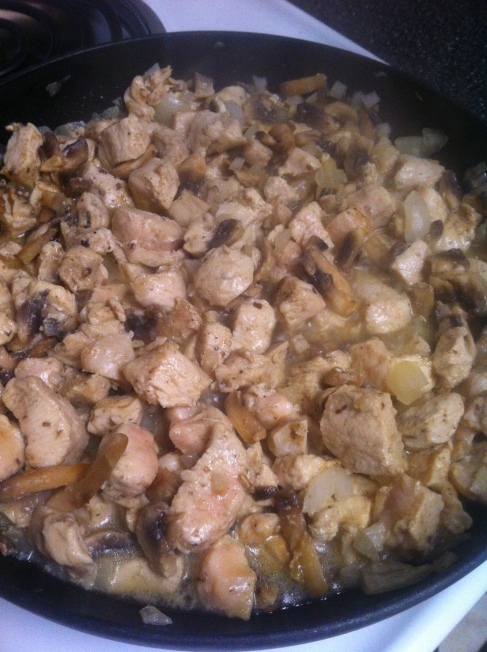
First, I sauteed one pound of chicken breast, a minced clove of garlic, half an onion, and 6 or 7 white mushrooms in olive oil. I added black pepper, cumin, and coriander (about a half teaspoon of each).

Image

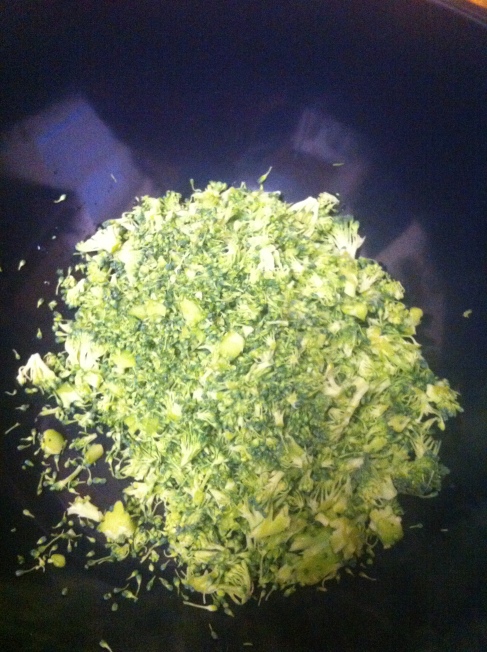
While the chicken was cooking, I chopped one bunch of broccoli. Broccoli has never been a favorite vegetable of mine, but if you chop it finely enough, you can barely taste it.

Image

I stirred the ingredients together with one cup of cheddar cheese.

Image

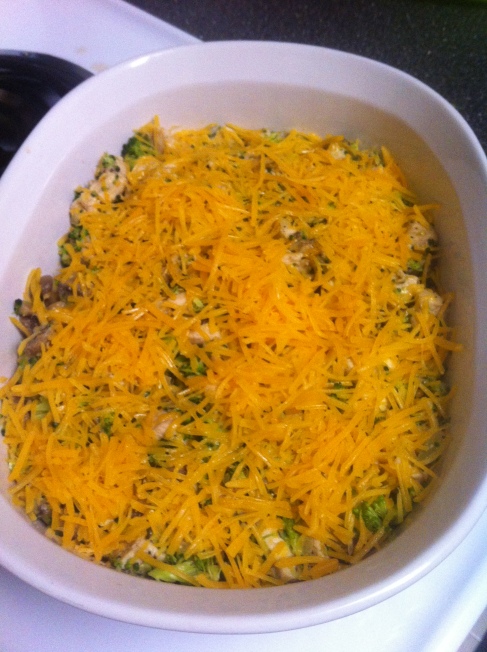
I looked for other options as the casserole topping, but most of them were things that either didn’t sound that healthy or that I didn’t have at home. So, I used another cup of cheddar cheese to top the casserole.

Image

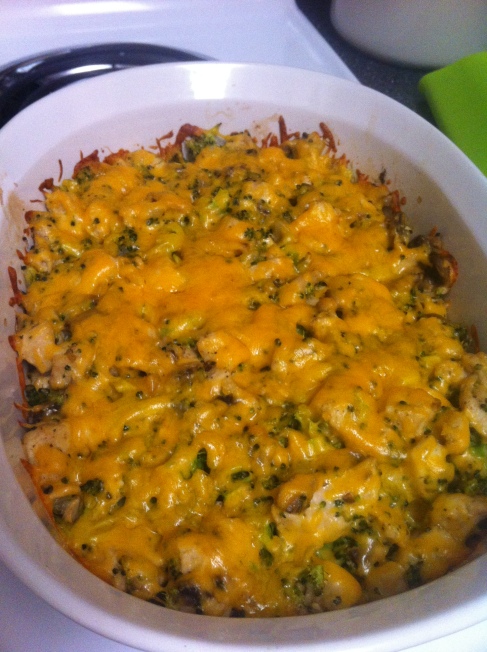
I baked it at 350 for 30 minutes. I was pleased with the dish!

Image

Back to Cooking…Finally!

The past month has been a little hectic! I’ve been in the process of moving, so I’ve been transitioning in a lot of areas of my life…including the kitchen! Unfortunately, I was kitchenless for that time period, which also means that I was blog postless. Blog postless? Apparently, I don’t just cook, I make up words too…

Now, I have a kitchen, but I don’t have all of my supplies unpacked and put away. To squelch my cooking cravings I just worked with what I had to make something quick and easy.

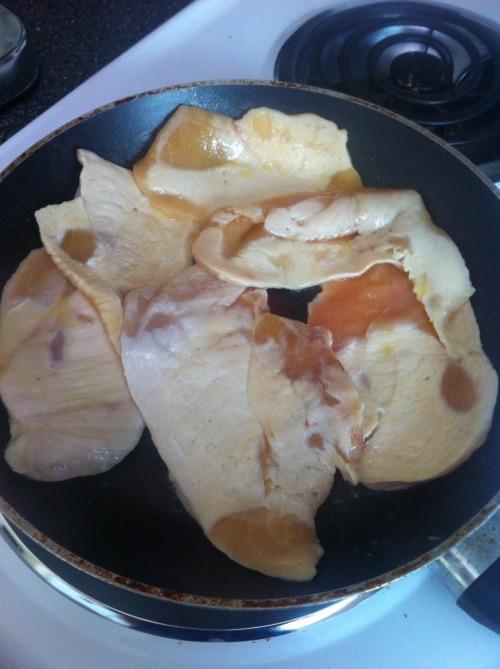
First, I sauteed thinly sliced chicken breasts until slightly browned.

Photo_15

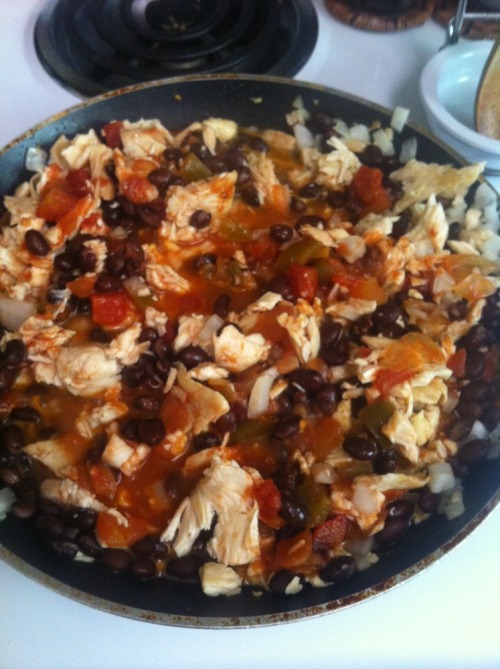
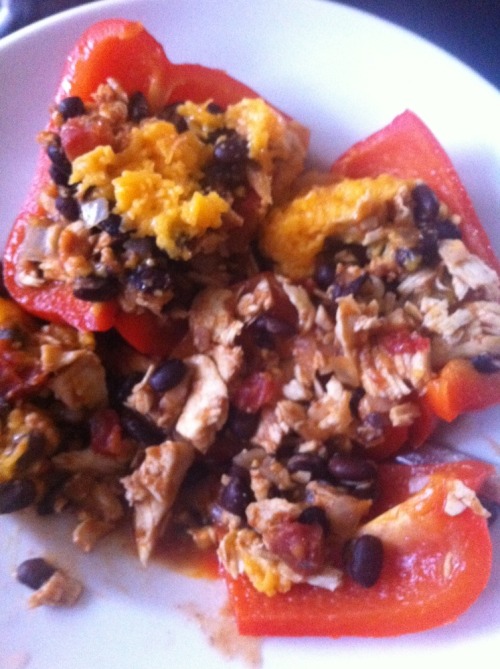
I shredded the chicken and added a can of black beans, 5 tablespoons of salsa, 1.5 tablespoons of lime juice, 1/4 cup chopped onion, 1 teaspoon of cumin, and 1/2 teaspoon of chili powder for a little kick. I let this simmer for about 15 minutes.

Photo_23

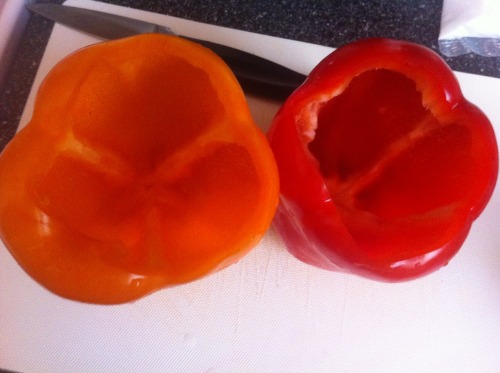
While the mixture simmered, I cut the top out of two large bell peppers.

Photo_32

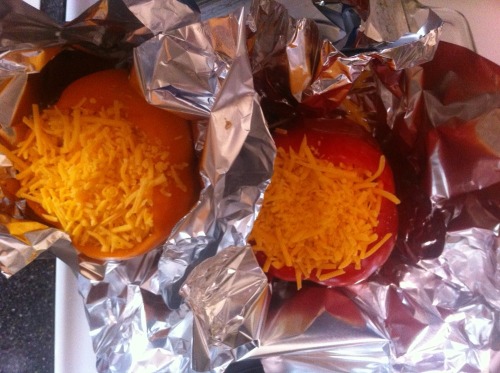
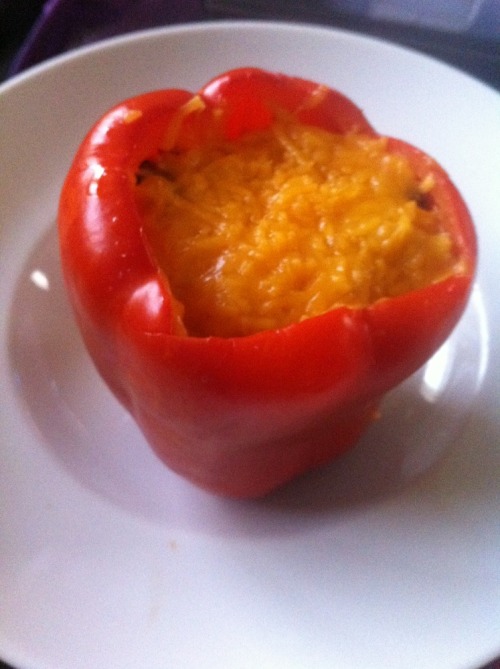
I stuffed each pepper with the chicken mixture and topped it with shredded cheddar cheese.

Photo_42

I baked it for about 20 minutes wrapped in foil and another 5 minutes uncovered.

Photo_16

I liked that the filling was protein filled and tasty. It didn’t include carb loaded fillers like rice or bread crumbs. The addition of the lime juice prevented it for getting too dried out while baking. When I make these again I would like to make my own salsa using my recipe from a previous post called Mexican Monday.

Photo_24

I’m looking forward to getting back to my normal challenges next week!

Party Food Mashup

As I was brainstorming quick but yummy appetizers to make for New Year’s Eve, I thought about two of our favorites.

We love the grape jelly meatballs in the crockpot (as do most of our party guests). We also love buffalo chicken dip.

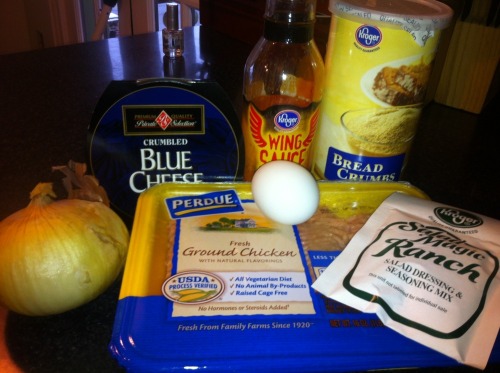
Although I love these party foods, I wanted to try to get creative. I made Buffalo Chicken Meatballs. I started with these ingredients.

Photo_13

I mixed it all together and made a few ingredient adjustments to get it to the right texture for making meatballs. The approximate ingredient amounts were:

1 lb of ground chicken

1 egg

1/2 packet of ranch dressing

1 tablespoon of garlic powder

1/2 container of blue cheese crumbles

1 and 1/2 cups of bread crumbs

1/2 onion

5 tablespoons of buffalo sauce

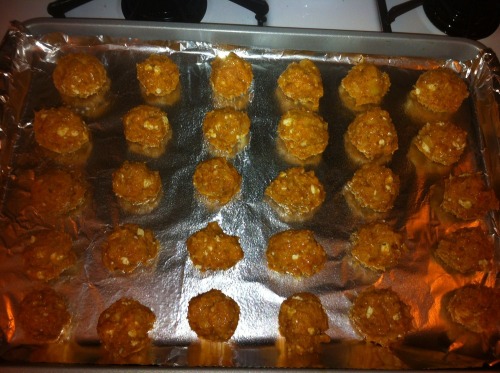
I mixed it by hand and shaped the meatballs. I dropped them onto a foil coated in non-stick spray.

Photo_22

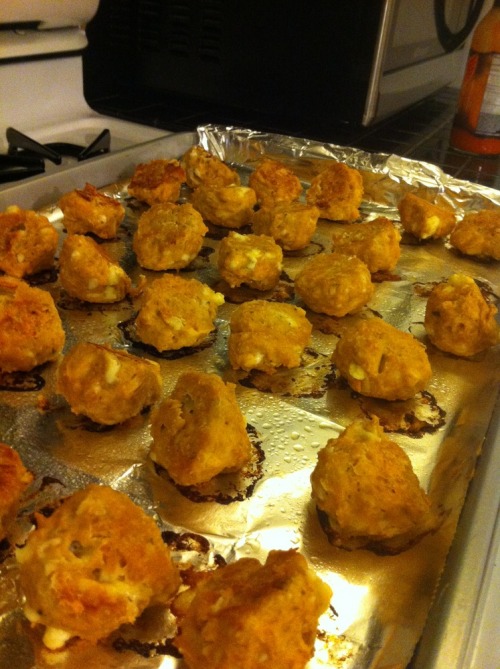
I baked it at 350 degrees for about 30 minutes, turning them about half way through.

Photo_41

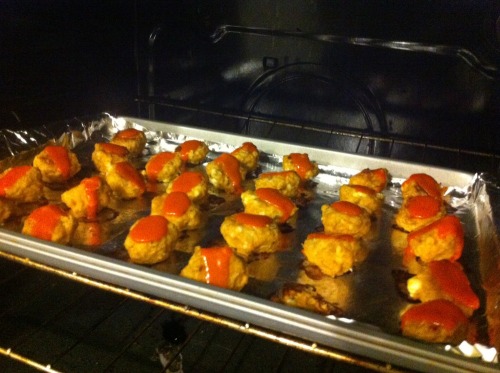
I taste tested them, but there wasn’t quite enough zip to them for my taste. To make up for this I topped each with a little more wing sauce and baked for about 2 more minutes. This made it perfect!

Photo207

Not too Baaaa-ad

I love all cheeses, but especially love goat cheese. You’ve probably picked up on that in previous posts where I’ve used it including the endive and goat cheese stuffed mushrooms,in salads, eggplant parmesan, in pasta sauce, on bruschetta, and in many other tasty recipes.

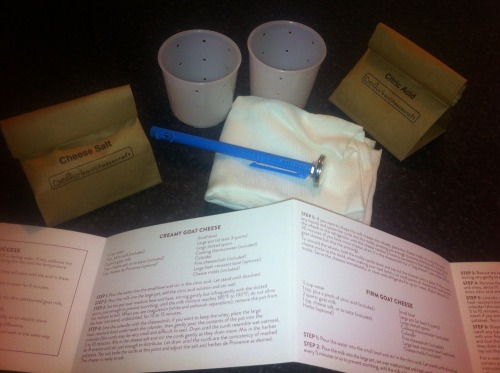
I recently found a kit to make goat cheese and decided to try it as an appetizer with french bread for New Year’s Eve.

The kit includes this:

Image35

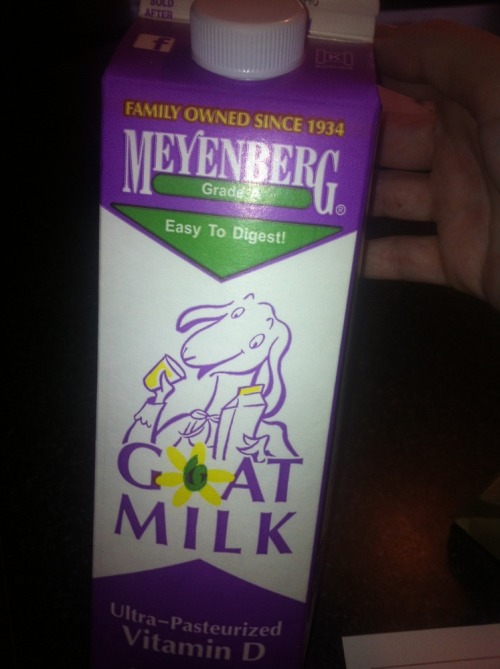
I just had to buy this:

Image36

The “Easy to Digest” statement on the carton made me curious. I googled it and found out that goat’s milk is better for multiple reasons. We typically drink and bake with almond milk in our house, which is also a healthy alternative to cow milk. Another note: the kit asks for raw or regular pasteurized milk. I could only find ultra pasteurized. The kit instructions said this was ok but that it would just make the cheese softer. Hoping to account for this, I followed the directions to make firm cheese.

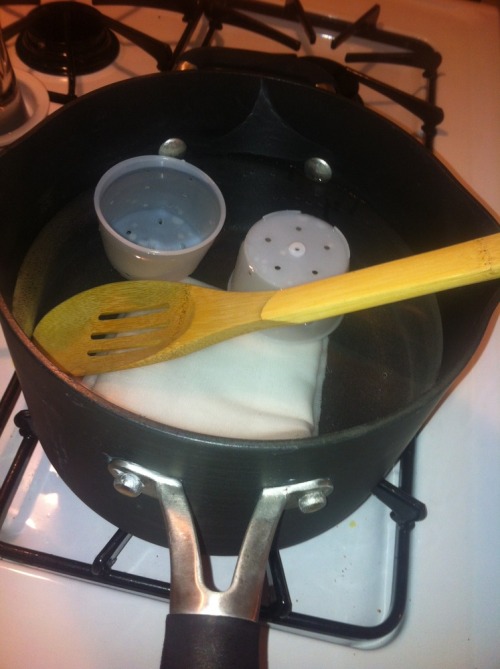
I had time to look all of this up while the cheesecloth, molds, and utensils were sterilized in boiling water.

Image37

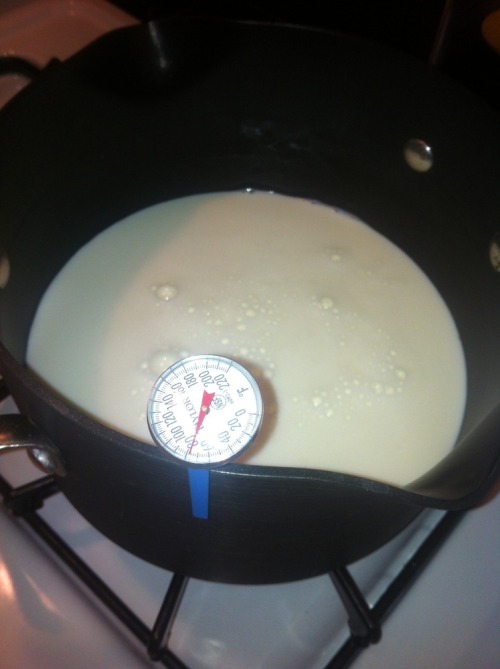
First, you cook the milk on medium heat, only stirring occassionally, until it reaches 190 degrees. Apparently it is really important NOT to use an aluminum pan in cheesemaking, as the acid will react with the aluminum and aluminum will leech into your cheese. This heating process took about 40 minutes.

Image38

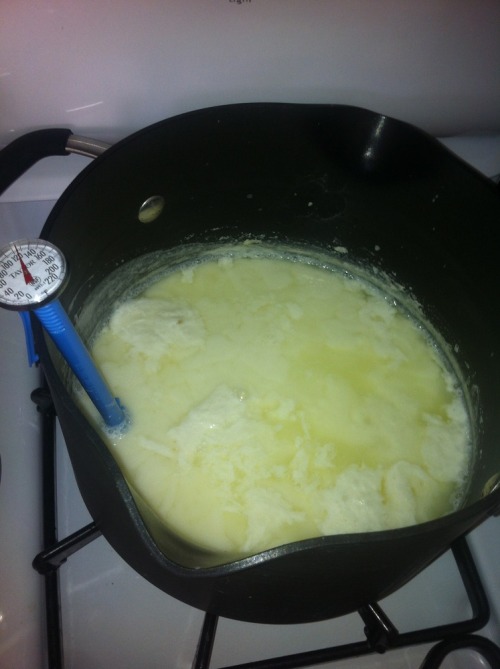
While this was cooking, I mixed water with the citric acid and let it absorb. After the milk reaches the appropriate temperature, you turn it to low and add the acidic mixture. It started to curdle. You remove it from the heat and let it sit for about 10 minutes. It looks something like this:

Image39

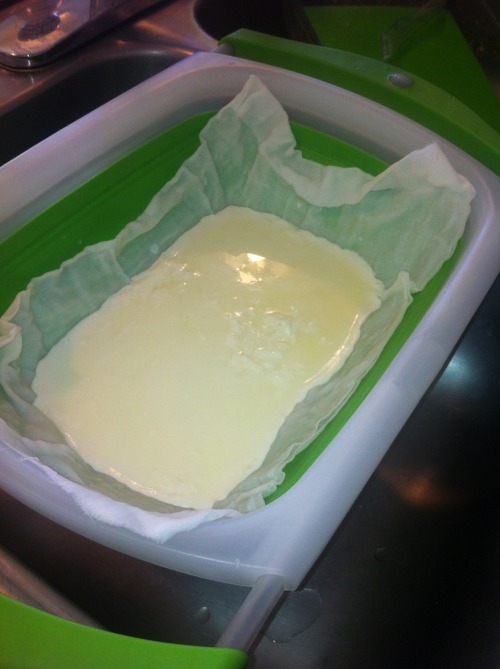
Then, you pour it ont the cheesecloth lined strainer and let it drain.

Image40

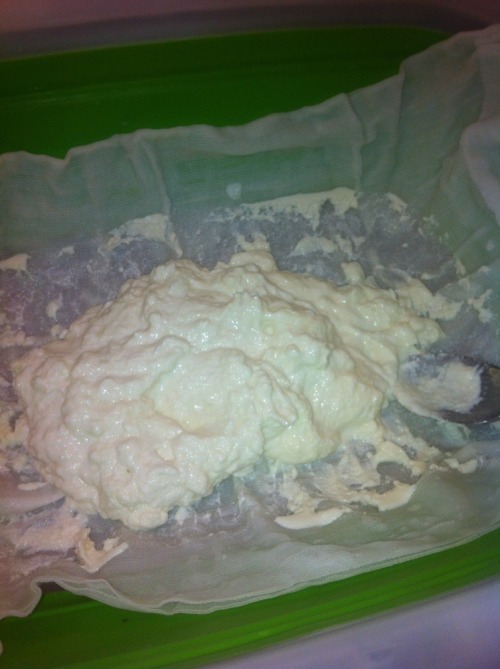
After about 10 minutes of draining, you add cheese salt, stir it in, and let it drain some more unitl it resembles mashed potatoes.

Image41

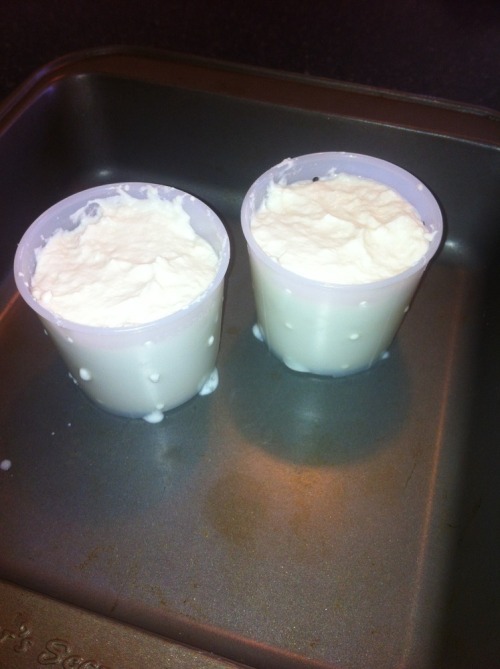
You spoon the curds into the molds, where they will continue to drain.

Image42

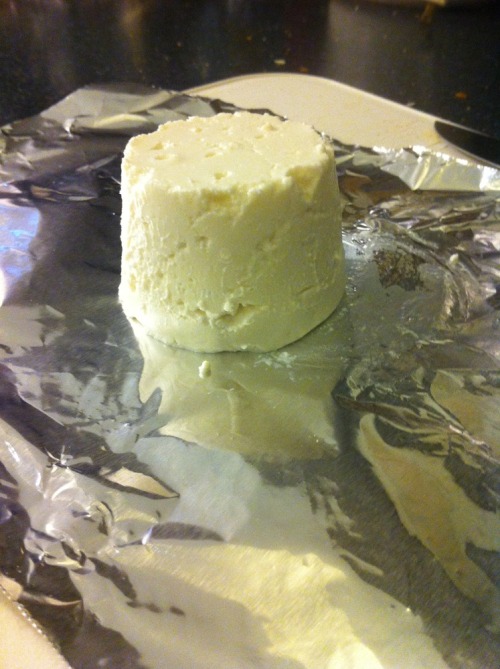
Then refrigerate for a a few hours and it is ready to go! This was a nice addition to the appetizers we had at New Year’s Eve. This is only one of the two cheese molds.

Photo_31

As a side note, I discovered that you can clean and reuse cheesecloth. The kit comes with enough ingredients to make 10 batches. What you see above was only half a batch. Each kit should go a long way making it worth the money!

 

Chocolate Covered Shot of Energy

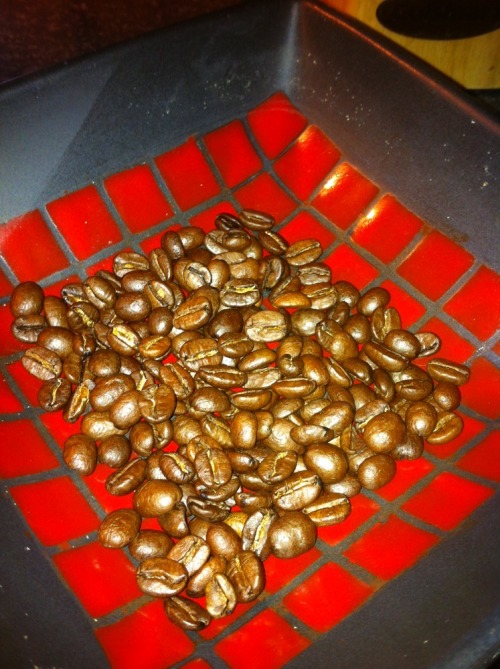
In a recent food challenge, I had to find a way to use whole coffee beans with trout and scallops. While it turned out surprisingly well, I had a ton of whole coffee beans left over. I don’t own a coffee grinder or a regular coffee pot for that matter (I LOVE my Keurig!), so I had to find another way to avoid wasting the coffee beans.

Photo_12

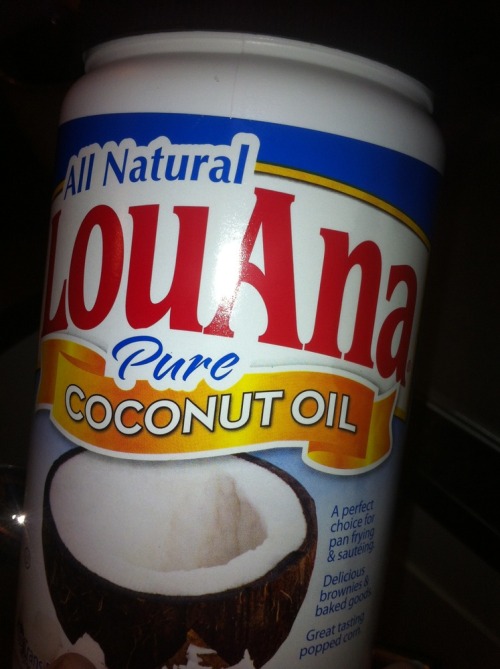
I decided that I would make chocolate covered coffee beans using chocolate leftover from my holiday candy marathon. I begain with this basic recipe. I don’t have shortening to smooth out the chocolate, but I found that you can substitute coconut oil for it and I do have that which is much healthier (as far as chocolate covered coffee beans go)!

Photo_21

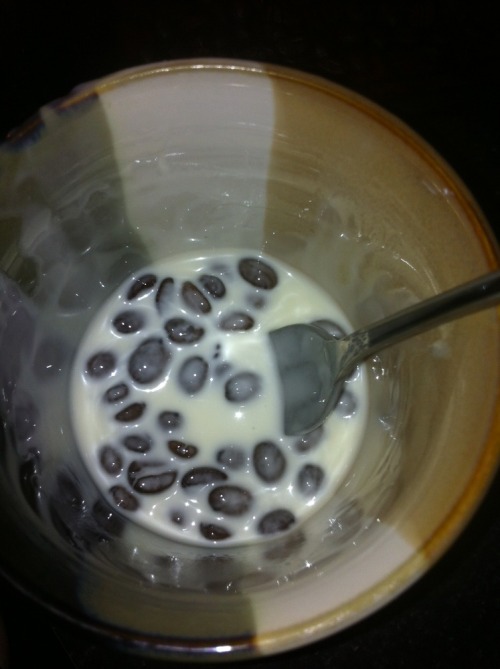
I melted both white chocolate and milk chocolate with enough coconut oil to get it to the right consistency for dipping (about 1 teaspoon of coconut oil per cup of chocolate chips) in coffee mugs.

Photo_3

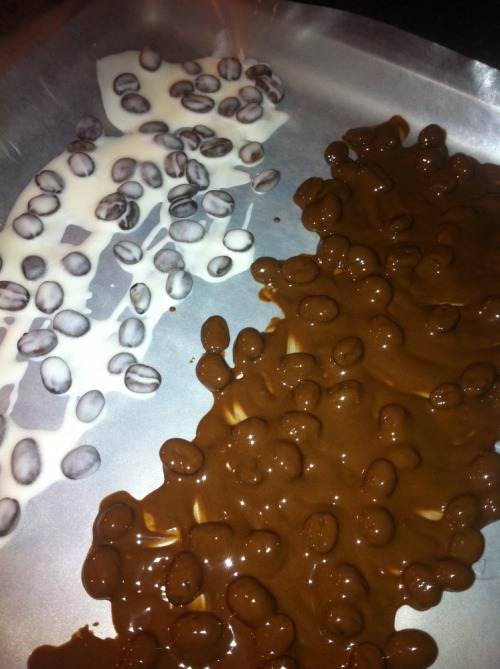
Then, I dipped the coffee beans in the chocolate and used a fork to fish them out and allow them to drain excess chocolate.

I placed the chocolate covered beans on wax paper and separated them a bit. I quickly decided that there wasn’t enough chocolate, and despite my painstaking dripping of chocolate, I drizzled more on top. Never enough chocolate.

Photo_4

Apparently never enough caffeine either…Only 3 beans has 36 milligrams of caffeine! It is recommended by the Mayo Clinic that we consume 200-300 milligrams per day (unless there are other health conditions present). So, we can’t just eat these like candy, even if it is tempting.

I did create one variation. I had more white chocolate so I added a 1/2 teaspoon of cinnamon and dipped beans in the white chocolate cinnamon mixture. Yum!

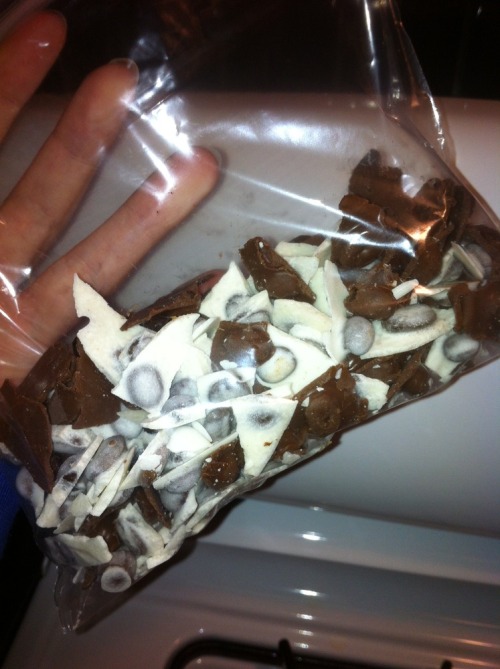
They didn’t turn out in perfectly rounded bean shaped goodies. I haven’t quite mastered that yet… But they are good!

Photo205